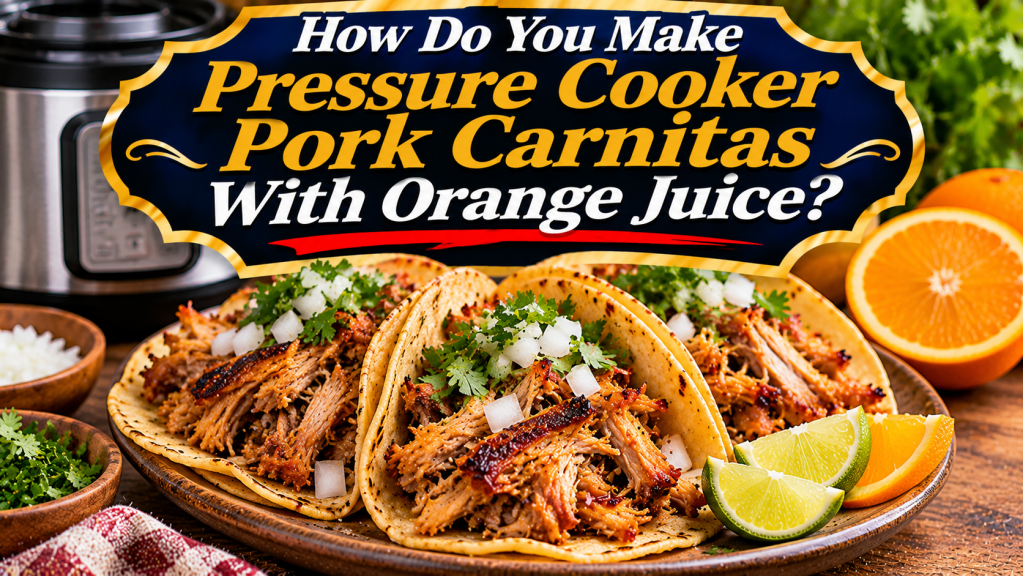
Pressure cooker pork carnitas with orange juice deliver tender, shreddable pork with a citrus-scented cooking broth and crisp, browned edges. Instead of spending hours tending a pot, you can cook chunks of pork shoulder under pressure, shred the meat and finish it under the broiler. Orange juice contributes gentle sweetness and acidity without turning the pork into a sweet barbecue dish. Garlic, oregano, cumin and lime round out the flavor, making the finished carnitas ideal for tacos, burritos, rice bowls and family dinners. This is a home pressure-cooker adaptation of Mexican carnitas rather than the traditional method of slowly cooking pork in its own fat or lard.
Recipe at a Glance
Yield: approximately eight servings. Preparation time: 20 minutes. High-pressure cooking time: 60 minutes, plus 15–20 minutes of natural pressure release and time to reach pressure. Broiling time: 5–10 minutes per batch. Allow roughly two hours from start to finish. Use a six-quart or larger electric pressure cooker, following the manufacturer’s minimum liquid and maximum fill requirements. Cooking times are estimates and may vary with the size of the pork pieces and your appliance.
Ingredients
You will need 3 pounds boneless pork shoulder (also called Boston butt), cut into roughly 2-inch chunks; 1 tablespoon neutral cooking oil; 1½ teaspoons kosher salt, or to taste; 1 teaspoon ground black pepper; 2 teaspoons ground cumin; 2 teaspoons dried Mexican oregano or regular oregano; 1 teaspoon smoked or sweet paprika; 1 medium yellow onion, chopped; 5 garlic cloves, minced; ¾ cup unsweetened orange juice; ½ cup low-sodium chicken broth; 2 tablespoons fresh lime juice; and 1 bay leaf. For serving, prepare warm corn tortillas, chopped white onion, cilantro, lime wedges and your favorite salsa. If your cooker requires more thin liquid than this recipe provides, add broth to meet that minimum.
Why Pork Shoulder Works Best
Pork shoulder contains connective tissue and intramuscular fat that soften during prolonged cooking. Under pressure, collagen breaks down and the meat becomes tender enough to pull apart with forks. Lean pork loin or tenderloin is not an ideal substitute because it can become dry and stringy during a long pressure cycle. Trim away thick, hard exterior fat if desired, but leave some softer fat attached. That fat helps the shredded meat brown during its final trip under the broiler.
What Orange Juice Does for Carnitas
Orange juice introduces a fruity note that complements the richness of pork. Its natural sugars help promote browning when the shredded meat is exposed to high heat. Freshly squeezed juice works beautifully, but unsweetened bottled orange juice is convenient and consistent. Avoid orange drink, sweetened juice blends and thick concentrates unless properly diluted. The cooking liquid should remain thin enough for the pressure cooker to generate steam. Lime juice brightens the flavor further, while chicken broth keeps the citrus from dominating the dish.
Step 1: Prepare and Season the Pork
Pat the pork chunks dry with paper towels. Combine the salt, pepper, cumin, oregano and paprika in a small bowl, then rub the mixture over all sides of the meat. Cutting the shoulder into similar-sized pieces helps it cook evenly. You can season the pork immediately before cooking, or cover and refrigerate it for several hours ahead of time. Do not leave raw pork sitting at room temperature for an extended period. Wash your hands and clean utensils and surfaces that have touched the raw meat.
Step 2: Brown the Meat
Select the sauté function on your electric pressure cooker. Add the oil and allow it to heat. Brown the pork in several batches for about two minutes per side, transferring the browned pieces to a plate. Avoid overcrowding the pot because too much meat releases moisture and encourages steaming rather than searing. Browning is optional if you are short on time, but it develops an extra layer of savory flavor in the cooking liquid. The pork will still be raw in the center at this stage.
Step 3: Build the Cooking Liquid
Add the chopped onion to the pot and cook for two to three minutes, stirring occasionally. Add the garlic and stir for another 30 seconds. Pour in the chicken broth and scrape the bottom thoroughly with a wooden or silicone utensil to release all browned residue. This deglazing step is important because stuck-on bits can trigger a burn warning. Turn off sauté mode, then add the orange juice, lime juice and bay leaf. Return the pork and any accumulated juices to the pot. Do not add flour, cornstarch or a thick sauce before pressure cooking.
Step 4: Pressure-Cook Until Tender
Secure the lid according to your appliance instructions and set the valve to the sealing position if required by your model. Cook on high pressure for 60 minutes. When the cycle ends, allow the pressure to release naturally for at least 15–20 minutes, then carefully vent any remaining pressure according to the manual. Never force the lid open. Remove the bay leaf and test a large piece of pork with two forks. If the meat resists shredding, return it to high pressure for another 10 minutes, followed by a natural release. Pork must reach at least 145°F with a three-minute rest for safety, but shoulder typically needs to reach around 195–205°F to become easily shreddable.
Step 5: Shred and Moisten the Meat
Transfer the cooked pork to a large bowl or rimmed baking sheet and shred it with two forks. Discard any large pieces of unrendered fat that you do not want in the finished dish. Spoon some of the cooking liquid over the shredded meat, beginning with about ¼ cup. Taste and adjust salt as needed. If the broth seems greasy, skim the surface with a spoon or use a fat separator. Save the remaining cooking juices to moisten leftovers or add flavor to rice and beans.
Step 6: Crisp the Carnitas Under the Broiler
Position an oven rack about six inches below the broiler, or follow your oven’s guidance. Preheat the broiler and spread the shredded meat in a single layer on a broiler-safe rimmed metal baking sheet. Drizzle with a little reserved cooking liquid or rendered pork fat. Broil for three to five minutes, watching closely, then toss the meat and broil for another two to five minutes until some edges are deeply browned. Avoid drying out every strand; the best texture combines juicy pieces with crispy tips. Do not use parchment paper under a high broiler. Work in batches if necessary.
How to Crisp Carnitas Without a Broiler
Heat a heavy skillet over medium-high heat and add a small amount of the reserved pork fat or neutral oil. Arrange the meat in a single layer and leave it undisturbed for a few minutes so the underside develops a crust. Turn portions with a spatula and crisp the other side briefly. A cast iron skillet works especially well because it retains heat. Add a spoonful of cooking juices after browning if the meat seems dry, and serve immediately.
Flavor Variations
For a spicier version, add a chopped jalapeño or a small amount of chipotle in adobo to the cooking liquid. For a brighter citrus flavor, add a little freshly grated orange zest after shredding. Avoid grating the bitter white pith. Mexican oregano gives the dish an earthy, citrus-like character, while regular oregano is a reasonable substitute. If you prefer a milder seasoning profile, omit the paprika or reduce the cumin. Keep the orange juice unsweetened so the pork remains savory.
What to Serve With Pork Carnitas
Warm corn tortillas make a simple base for carnitas tacos. Add chopped onions, cilantro and a squeeze of lime, then finish with salsa verde or roasted tomato salsa. For burritos, combine the pork with rice, beans and shredded lettuce. Carnitas also work well in quesadillas, nachos and bowls with avocado, cabbage and pickled onions. Serve with Mexican-style rice, black beans or roasted vegetables for a complete meal. The crisp meat is especially good when paired with a cool, acidic topping.
How to Store and Reheat Leftovers
Refrigerate leftovers within two hours of cooking, or within one hour if the ambient temperature is above 90°F. Store in shallow airtight containers with a little cooking liquid and use within three to four days. For longer storage, freeze meal-sized portions for up to three months for best quality. Thaw overnight in the refrigerator. Reheat leftovers to 165°F, adding a splash of broth if needed. To restore crispness, finish the hot shredded pork briefly in a skillet or under the broiler. You can also store the cooked pork before crisping it and brown individual portions just before serving.
Frequently Asked Questions
Can I use bottled orange juice?
Yes. Choose unsweetened 100% orange juice without added sugar. Freshly squeezed juice provides a brighter aroma, but bottled juice works well in the cooking liquid.
Why are my carnitas tough?
Pork shoulder may need additional cooking time for its connective tissue to soften. If the meat does not pull apart easily, pressure-cook it for another 10 minutes and allow pressure to release naturally.
Can I skip browning the pork before cooking?
Yes. The final broiling step creates the characteristic crisp edges, so you can skip the initial sear when time is limited. You will lose some of the deeper flavor from the browned residue.
Can I double the recipe?
Only if your cooker has enough capacity and the total ingredients stay below its applicable maximum fill line. Keep the chunks approximately the same size and follow your appliance’s liquid requirements. Cooking in two separate batches may be easier.
How do I prevent the burn warning?
Deglaze the pot thoroughly after sautéing, use sufficient thin liquid and avoid thickened sauces during the pressure cycle. Check your model’s instructions if a warning appears.
Can I make the carnitas ahead?
Yes. Cook, shred and refrigerate the pork with some cooking liquid. Reheat safely and crisp it immediately before serving for the best texture.
Final Tips
The key to pressure cooker carnitas is tender pork shoulder, a balanced citrus cooking liquid and a quick high-heat finish. Do not rush the pressure release or skip checking tenderness. Keep some cooking juices on hand so the meat stays succulent even after crisping. With warm tortillas and fresh toppings, this adaptable recipe makes a satisfying meal that can be enjoyed in several different ways throughout the week.
Leave a Reply