
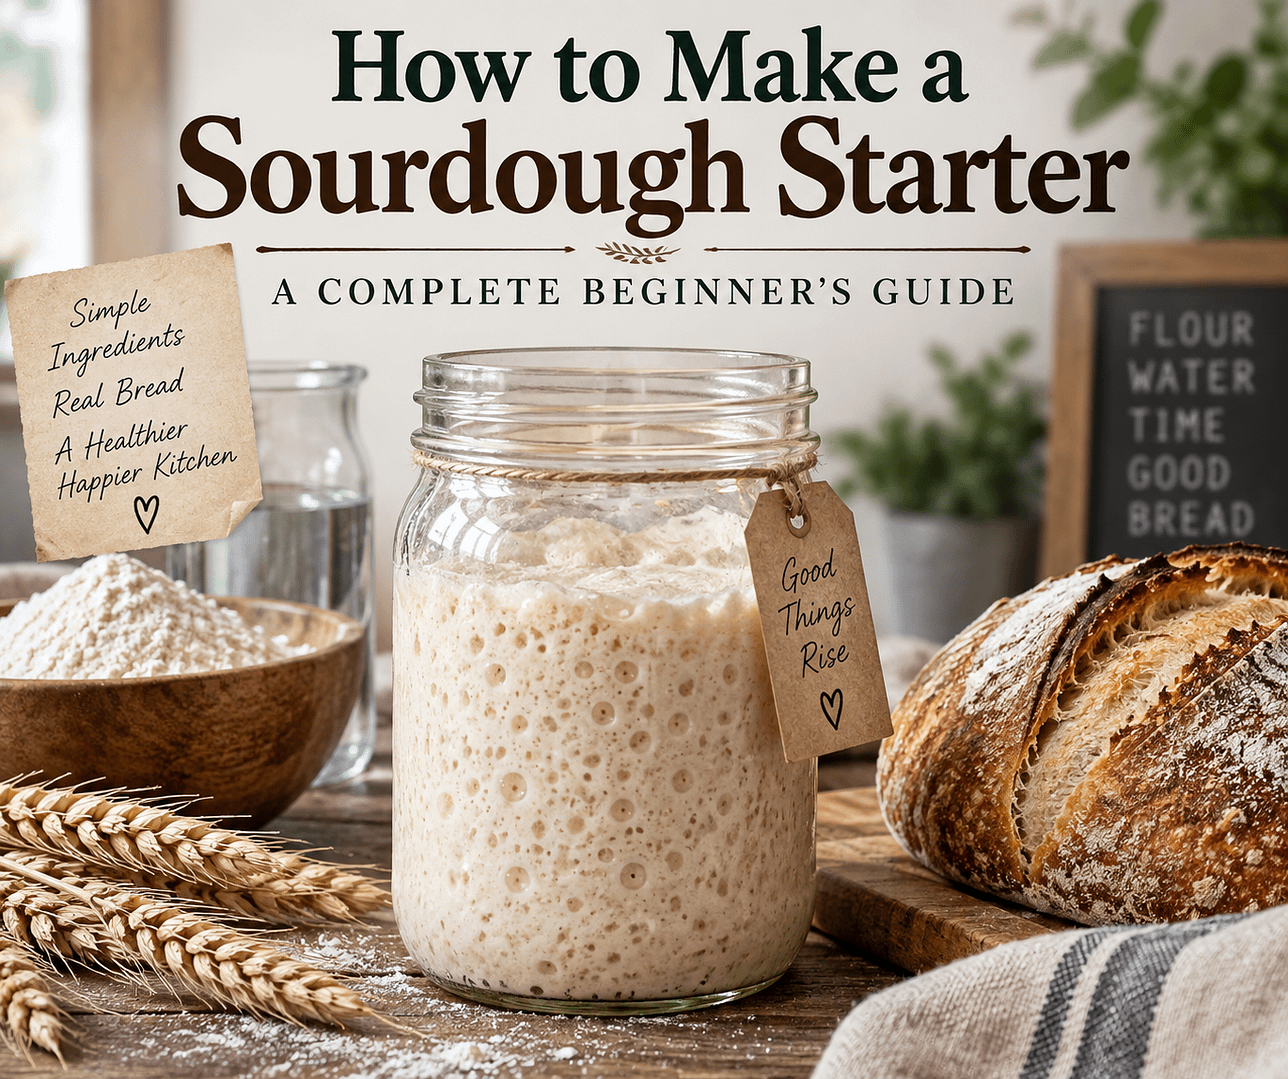
Making your own sourdough starter is one of those kitchen projects that seems mysterious until you actually try it.
At its simplest, a sourdough starter requires only two ingredients:
Flour and water.
That’s it.
You don’t need a packet of commercial yeast. You don’t need expensive equipment. And you certainly don’t need to be an experienced bread baker.
What you do need is patience.
When flour and water are combined and regularly refreshed, naturally occurring yeasts and bacteria can establish a stable fermented culture. Over time, that culture becomes active enough to help bread dough rise.
The result is your sourdough starter.
Once you have a healthy starter, you can use it for much more than traditional sourdough bread. Pizza crust, pancakes, waffles, cinnamon rolls, crackers, biscuits, muffins, flatbreads, and many other recipes can incorporate sourdough starter or discard.
Even better, a starter can potentially be maintained for years.
If you’ve always wanted to make sourdough but didn’t know where to begin, this guide will walk you through the entire process.
What Exactly Is a Sourdough Starter?
A sourdough starter is a fermented mixture of flour and water populated by naturally occurring microorganisms, particularly wild yeasts and lactic acid bacteria.
These microorganisms work together during fermentation.
Yeasts consume available sugars and produce carbon dioxide. Those gas bubbles eventually help dough expand and rise.
Lactic acid bacteria produce organic acids and other compounds that contribute to sourdough’s characteristic flavor, aroma, texture, and fermentation environment.
This is why sourdough bread doesn’t require commercial baker’s yeast when an active starter provides the leavening power.
Your starter essentially becomes the engine behind your bread.
Why Make Your Own Starter?
You can sometimes purchase established starters or receive one from another baker, but creating your own is incredibly satisfying.
You’re building a living culture from scratch.
During the first several days, you’ll watch flour and water gradually change.
First, it might look like thick pancake batter.
Then you’ll notice a few tiny bubbles.
Eventually, it begins expanding.
The aroma changes.
The starter rises after feeding and later falls.
Before long, you’ve created something capable of making an entire loaf of bread rise.
There’s something wonderfully old-fashioned about the process.
Long before packets of commercial yeast appeared in grocery stores, people depended on fermentation to make naturally leavened breads.
Making sourdough reconnects you with that tradition.
What You’ll Need
You don’t need a kitchen full of specialized equipment.
For a basic sourdough starter, you’ll need:
- Flour
- Water
- Clean glass jar or food-safe container
- Digital kitchen scale
- Spoon or spatula
- Loose-fitting lid
- Rubber band or piece of tape for marking the starter’s level
A kitchen scale is strongly recommended.
You can find recipes using cups and tablespoons, but measuring flour by volume can be inconsistent because flour can become packed into a measuring cup.
Weight gives you much more predictable results.
What Is the Best Flour for Sourdough Starter?
Several types of flour can work.
Whole Wheat Flour
Whole wheat flour is an excellent choice for starting a new culture.
Because it contains more of the grain than refined white flour, it can provide a nutrient-rich environment for fermentation.
Rye Flour
Rye is another popular choice.
Many sourdough bakers use rye when trying to encourage a sluggish starter because it can support vigorous fermentation.
Bread Flour
Bread flour works very well once your starter is established and can also be used from the beginning.
All-Purpose Flour
Unbleached all-purpose flour is inexpensive, easy to find, and perfectly capable of maintaining a healthy starter.
You don’t necessarily need to use expensive specialty flour every time you feed your starter.
A simple approach for beginners is to start with whole wheat flour and gradually transition to unbleached all-purpose or bread flour.
You can also use a combination.
For example:
25 grams whole wheat flour + 25 grams bread flour
combined with your water.
What Kind of Water Should You Use?
Ordinary drinking water is usually sufficient.
If your tap water smells strongly of chlorine or you notice that your starter repeatedly struggles despite otherwise appropriate conditions, filtered water is worth trying.
Use room-temperature or slightly warm water.
Avoid very hot water.
Remember that your starter contains living microorganisms. Excessive heat can damage or kill them.
Choosing the Right Container
A glass jar is ideal because you can easily see what’s happening inside.
You don’t need anything fancy.
Choose a container large enough to allow your starter to expand significantly without overflowing.
A straight-sided jar can be particularly helpful because it makes it easy to see exactly how much your starter has risen.
Don’t completely seal an actively fermenting starter in an unsuitable airtight container.
Fermentation produces gases.
A loosely fitted lid works well and also helps protect the starter from dust and insects.
Before You Begin: Understanding Feeding
Your starter needs fresh flour and water regularly.
This is called feeding or refreshing your starter.
You will retain a portion of the existing starter and mix it with fresh flour and water.
For this beginner method, we’ll start with a simple ratio:
1 part starter : 1 part flour : 1 part water
All measurements are by weight.
For example:
50 grams starter
50 grams flour
50 grams water
This is commonly written as:
1:1:1
Later, you can experiment with different feeding ratios.
But you don’t need to worry about that yet.
Let’s make your starter.
Day 1: Creating Your Sourdough Starter
Take your clean jar and add:
50 grams whole wheat flour
Then add:
50 grams room-temperature water
Mix thoroughly.
Make sure there are no pockets of dry flour.
The mixture should resemble a thick batter or paste.
Scrape down the sides of the jar.
Place a rubber band around the jar at the level of your mixture. This makes it easier to tell whether the starter rises.
Cover loosely.
Place the jar somewhere away from direct sunlight where the temperature is relatively comfortable and stable.
Around 70–78°F is a useful range for many starters.
Now wait approximately 24 hours.
Day 2: Your First Feeding
Take a look at your starter.
You might see bubbles.
You might see expansion.
You might notice a strange smell.
Or you might see virtually nothing.
Don’t panic.
All of these possibilities can happen.
Remove enough starter so that approximately 50 grams remain.
Then add:
50 grams flour
and
50 grams water.
Mix thoroughly.
Mark the new level with your rubber band.
Cover loosely again.
Wait approximately another 24 hours.
Day 3: Things May Get Interesting
This is often when beginners become excited.
You may see lots of bubbles.
Your starter might suddenly expand dramatically.
It might even appear ready to bake with.
Be patient.
Early dramatic activity doesn’t necessarily mean you have a mature sourdough starter.
The microbial community inside the jar is still developing and changing.
An early burst of activity may be followed by a period when almost nothing seems to happen.
This is normal.
Continue your routine.
Keep:
50 grams starter
Feed:
50 grams flour
and
50 grams water.
Mix, mark the level, cover, and wait.
Days 4–5: The Quiet Stage
This is where many beginners become discouraged.
Your starter was bubbling yesterday.
Now it looks almost dead.
You may wonder:
Did I kill my sourdough starter?
Probably not.
New starters often go through periods of dramatic activity followed by much quieter periods while their microbial ecosystem develops.
Continue feeding it consistently.
Every approximately 24 hours:
Keep 50 grams starter.
Add 50 grams water.
Mix.
Add 50 grams flour.
Mix thoroughly again.
Mark the level.
Watch what happens.
You should gradually begin seeing more predictable signs of fermentation.
Days 6–7: Building Strength
By this point, your starter may begin behaving more consistently.
After feeding, you may notice:
Small bubbles appearing.
Then larger bubbles.
The starter begins expanding.
Eventually, it may double in volume.
Later, it reaches its highest point.
Finally, it begins falling again.
This rise-and-fall cycle is extremely important.
You’re learning your starter’s rhythm.
Instead of simply asking, “How old is my starter?” begin asking:
What does my starter do after I feed it?
How Do You Know When a Sourdough Starter Is Ready?
This is one of the biggest questions new sourdough bakers have.
Don’t rely solely on the number of days.
One person’s starter might develop quickly, while another may need considerably longer.
Temperature, flour, water, feeding schedule, and other factors influence fermentation.
A stronger indicator is predictable behavior.
A mature starter should develop bubbles throughout its structure and rise consistently after feeding.
One commonly used benchmark is the ability to approximately double its volume within around 4–8 hours after feeding under favorable room-temperature conditions.
Even better, look for this behavior repeatedly.
Consistency matters more than one unusually active feeding.
What Should a Healthy Starter Smell Like?
A mature sourdough starter often has a pleasantly fermented aroma.
Depending on your flour, temperature, hydration, and culture, you might notice aromas described as:
Tangy.
Yeasty.
Fruity.
Yogurt-like.
Mildly sour.
Sometimes even slightly sweet.
The aroma can change considerably throughout the fermentation cycle.
Immediately after feeding, it may smell mostly like flour.
As fermentation progresses, the aroma becomes stronger.
When the starter becomes hungry, it can smell considerably sharper.
Learning these changes is part of learning to maintain sourdough.
What About Bad Smells?
A brand-new starter can produce some surprising aromas.
The microbial population is changing rapidly during the early stages.
Unpleasant smells alone during those first days don’t necessarily mean you’ve failed.
However, some warning signs should be taken seriously.
If you see fuzzy mold or suspicious pink, orange, or red discoloration, discard the starter rather than trying to rescue it.
Clean your equipment thoroughly and begin again.
What Is Sourdough Discard?
Every time you feed your starter, you remove part of the existing mixture.
That portion is commonly called sourdough discard.
Beginners often ask:
Why am I throwing away perfectly good flour?
There’s a mathematical reason.
Suppose you started with 100 grams of starter and never removed anything.
To maintain the same feeding proportions, you would continually need larger quantities of flour and water.
Your starter would quickly become enormous.
Discarding allows you to keep a small, manageable culture while giving the microorganisms enough fresh food.
Don’t Throw Away Established Sourdough Discard
Once your starter is mature and healthy, discard can become a useful ingredient.
You can use it to make:
Sourdough pancakes.
Waffles.
Crackers.
Biscuits.
Pizza crust.
Flatbread.
Muffins.
Banana bread.
Cookies.
Cakes.
Brownies.
Cinnamon rolls.
Pretzels.
And much more.
This is one reason maintaining a sourdough starter can lead you into an entirely new world of baking.
During the very early establishment period, however, it is simpler to discard the removed portions rather than saving them for food.
Understanding the Rise, Peak, and Fall
Learning to recognize your starter’s fermentation cycle is one of the most valuable sourdough skills you can develop.
Immediately After Feeding
The starter is relatively dense and may show limited activity.
Fermentation Begins
Bubbles start appearing throughout the mixture.
Rising
Gas becomes trapped in the starter’s structure, causing it to expand.
Peak
Eventually, your starter reaches approximately its maximum height.
The surface may appear rounded or domed before gradually flattening.
Falling
As fermentation progresses and available food is depleted, the starter begins collapsing.
You may see streaks along the jar showing how high it previously rose.
Then it is time to think about feeding again.
When Is the Best Time to Bake With Your Starter?
Many sourdough bread recipes work best with an active starter used around its peak after feeding.
For example, imagine feeding your starter at 8:00 a.m.
Over the next several hours, it begins expanding.
By early afternoon, it has doubled and is filled with bubbles.
That’s potentially an excellent window for mixing your bread dough.
Exactly how long this takes depends on your starter and environment.
This is why experienced sourdough bakers don’t rely exclusively on the clock.
They watch the starter.
Does the Sourdough Float Test Work?
You’ve probably seen the famous sourdough float test.
Take a small spoonful of starter and drop it into water.
If it floats, people often say it’s ready.
If it sinks, they say it isn’t.
The float test can sometimes provide useful information about how much gas the starter is holding, but it isn’t foolproof.
A healthy starter can sink.
A starter that floats isn’t automatically strong enough to successfully leaven bread.
Watching how predictably your starter rises and falls after feeding gives you more meaningful information.
Understanding Feeding Ratios
Once you’re comfortable with your starter, you’ll probably encounter feeding ratios.
Here are three examples.
1:1:1
25g starter
25g flour
25g water
1:2:2
25g starter
50g flour
50g water
1:5:5
10g starter
50g flour
50g water
Increasing the amount of fresh flour and water relative to starter generally gives the culture more food and can extend the fermentation cycle.
This becomes useful when adapting your starter to your schedule.
Why Temperature Matters So Much
Sourdough fermentation is heavily influenced by temperature.
A starter kept somewhere warm will generally ferment faster than one kept somewhere cool.
That’s why one recipe might tell you that a starter should double within five hours while yours takes eight.
Your starter may not be doing anything wrong.
Your kitchen may simply be cooler.
Instead of obsessing over an exact number of hours, pay attention to the starter’s behavior.
What If My House Is Cold?
Winter kitchens can make sourdough challenging.
Look for a comfortably warm location that isn’t excessively hot.
Some people use a turned-off oven with the light on, but temperatures inside ovens can sometimes become warmer than expected. If you use this approach, monitor the temperature carefully and make absolutely certain nobody accidentally turns the oven on.
A warm area of the kitchen is usually enough.
Give your starter additional time when temperatures are cooler.
My Starter Isn’t Rising—What Should I Do?
First, don’t immediately start changing everything.
Ask yourself:
How old is the starter?
How warm is the room?
Am I feeding consistently?
Am I measuring by weight?
What flour am I using?
Does the starter have bubbles even though it isn’t doubling?
A young starter may simply need more time.
If your starter is sluggish, try including some whole wheat or rye flour in your feeding.
You might use:
25g bread flour + 25g whole wheat flour
instead of 50 grams of white flour.
Then continue observing.
Why Is There Liquid on My Starter?
Sometimes liquid can appear on top of an established starter that has gone a while without feeding.
This can be a sign that the culture needs attention and fresh food.
You can generally pour the liquid off or stir it back into the starter before feeding.
If this happens constantly, consider adjusting your feeding frequency or ratio.
How Often Should You Feed a Starter?
There isn’t one schedule that works for every baker.
If you’re keeping your starter at room temperature because you’re baking frequently, you may need to feed it once or even twice per day depending on temperature, feeding ratio, and how quickly it ferments.
If you’re baking only occasionally, refrigeration is much more convenient.
How to Store Your Starter in the Refrigerator
Once your starter is healthy and established, you don’t have to keep feeding it every day forever.
That’s good news for anyone who doesn’t bake daily.
Feed your starter and allow fermentation to get started.
Then place it in the refrigerator.
Cold temperatures dramatically slow fermentation.
Many home bakers maintain refrigerated starters with approximately weekly feedings, although starters and schedules vary.
If you’re planning to bake, remove your starter from the refrigerator and give it time to become active again.
A starter that has been refrigerated for a longer period may benefit from several room-temperature feedings before you use it for bread.
How Much Starter Should You Keep?
You don’t need a giant jar containing hundreds of grams of starter unless you regularly need that much for baking.
Keeping a smaller starter saves flour.
For example, you could maintain:
20g starter + 40g water + 40g flour
That’s only 100 grams total.
When you’re preparing to bake, you can increase the quantity during feeding to produce however much active starter your recipe requires.
Keep Your Jar Clean
Sourdough is naturally messy.
Starter dries along the sides of jars and can accumulate around lids.
Periodically transfer your starter into a clean container.
This makes it easier to monitor the culture and reduces unwanted buildup around the jar.
You don’t necessarily need to obsessively sterilize everything each time you feed your starter.
Normal kitchen cleanliness is sufficient.
Common Beginner Mistakes
One of the biggest mistakes is giving up too soon.
A starter can appear incredibly active during its first few days and then suddenly become quiet.
People assume they killed it and throw it away.
Give it more time.
Another mistake is feeding based entirely on rigid internet schedules without observing the starter.
Your starter is giving you information.
Watch it.
Another common problem is using inconsistent measurements.
That’s why a kitchen scale is so helpful.
And perhaps the biggest mistake of all is trying to learn every advanced sourdough concept before baking your first loaf.
You don’t need to become an expert in fermentation science overnight.
A Simple 7-Day Sourdough Starter Schedule
Here’s the entire process in simplified form.
Day 1:
Mix 50g whole wheat flour with 50g water.
Day 2:
Keep 50g starter. Feed 50g flour and 50g water.
Day 3:
Keep 50g starter. Feed 50g flour and 50g water.
Day 4:
Repeat the feeding and watch for bubbles and rising.
Day 5:
Continue feeding and begin observing how long the starter takes to rise.
Day 6:
Continue feeding. Look for more predictable fermentation.
Day 7:
Evaluate your starter based on its activity rather than its age.
If it isn’t ready, keep going.
There is absolutely nothing wrong with needing Day 8, Day 10, Day 14, or longer.
Name Your Sourdough Starter
This part is completely optional—but it’s fun.
Sourdough bakers have a long tradition of giving their starters ridiculous names.
After all, you’re going to feed this thing regularly, keep it alive, check on it every morning, and possibly take it with you when you move.
It might as well have a name.
Your starter can eventually become one of the most dependable inhabitants of your kitchen.
Your First Sourdough Loaf
When your starter consistently rises after feeding and appears strong and bubbly, you’ve reached an exciting milestone.
It’s time to make bread.
Your first loaf doesn’t need to look like something displayed in the window of an artisan bakery.
Maybe it won’t rise quite enough.
Maybe the crust will be darker than expected.
Maybe your scoring won’t look perfect.
That’s okay.
Every loaf teaches you something.
You’ll begin learning how dough should feel, how temperature changes fermentation, how long bulk fermentation takes in your kitchen, and how your particular starter behaves.
That’s the beauty of sourdough.
You don’t simply follow a recipe.
You develop a relationship with the process.
Sourdough Is About Patience
Making a sourdough starter is a perfect example of how something simple can become extraordinary with enough time.
On Day 1, you’re staring at flour and water.
Nothing particularly impressive is happening.
Then bubbles appear.
The aroma changes.
The mixture begins rising.
You feed it again.
It rises faster.
Eventually, you realize you’ve created a thriving fermentation culture from two basic ingredients.
That starter can become the foundation for countless homemade meals.
Bread for sandwiches.
Pizza for family dinner.
Pancakes on Sunday morning.
Warm cinnamon rolls.
Crackers for an afternoon snack.
A crusty loaf alongside a bowl of soup.
And perhaps someday you’ll give part of your starter to someone else so they can begin their own sourdough journey.
Final Thoughts
Don’t let sourdough intimidate you.
You don’t need the perfect flour.
You don’t need expensive equipment.
You don’t need to understand every scientific detail of fermentation.
And you don’t need your starter to behave exactly like someone else’s starter on the internet.
You need flour.
You need water.
You need consistency.
And you need patience.
Feed your starter regularly, watch how it responds, learn its rhythm, and allow it enough time to become established.
Eventually, you’ll open that jar and see a bubbly starter that has doubled in size.
And that’s when something that began as nothing more than flour and water becomes the beginning of your first homemade loaf.
The hardest part about making a sourdough starter isn’t the recipe—it’s having the patience to let something good grow.
Have you ever made your own sourdough starter, or are you ready to start your first one today?
Leave a ReplyCancel reply